Difference between revisions of "Creating a Horizontal, Vertical, or Linear Dimension"
| (3 intermediate revisions by the same user not shown) | |||
| Line 1: | Line 1: | ||
Jump to: navigation, search | Jump to: navigation, search | ||
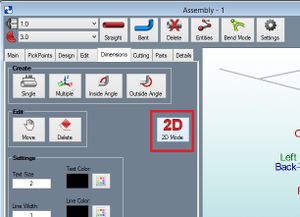
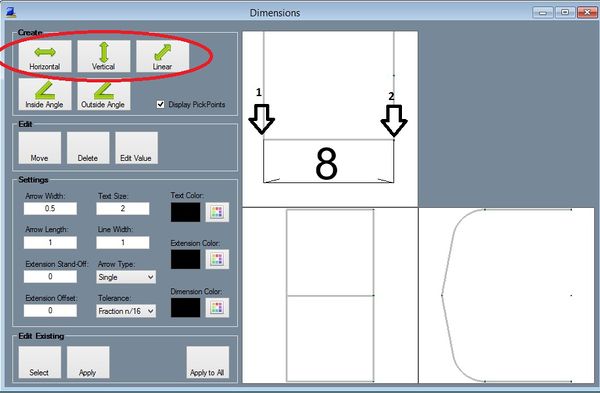
| − | Step 1 | + | '''Step 1:''' Click the 2D Mode button. Select the '''"Horizontal"''', '''"Vertical"''' or the '''"Linear"''' command button. |
| − | Step 2 | + | '''Step 2:''' Select the 2 '''"PickPoints"''' for the dimension. |
| − | Step 3 | + | '''Step 3:''' Select a '''"screen location"''' (NOT a PickPoint) to lay the text down. |
| − | [[File:Dim1.jpg|300px]] | + | [[File:Dim1.jpg|300px]][[File:Dim4.jpg|600px]] |
Latest revision as of 11:27, 30 September 2015
Jump to: navigation, search
Step 1: Click the 2D Mode button. Select the "Horizontal", "Vertical" or the "Linear" command button.
Step 2: Select the 2 "PickPoints" for the dimension.
Step 3: Select a "screen location" (NOT a PickPoint) to lay the text down.
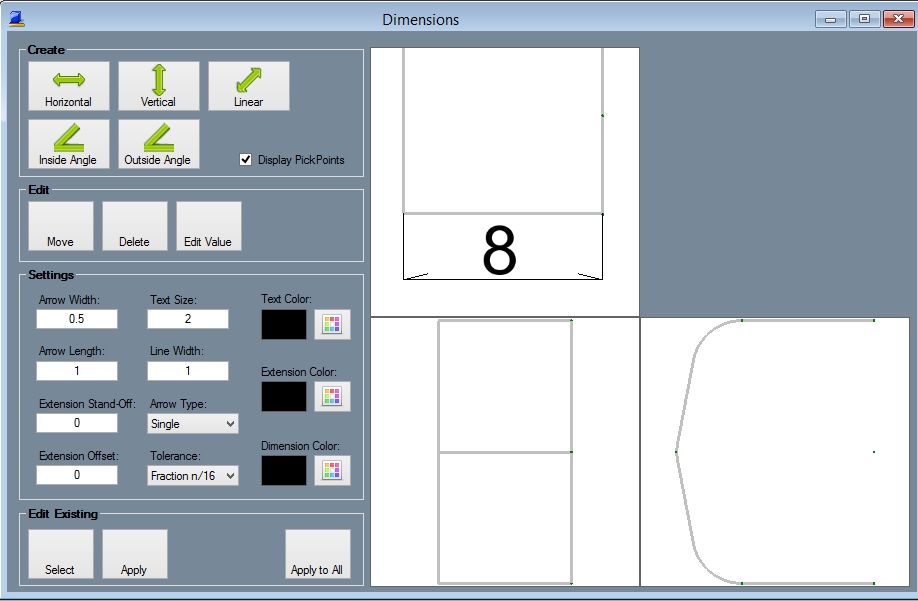
This is what it will look like once the dimension is completed:
Note: Use the "Display Mode" function (At the top of the window) to change the image to "'Shaded" to get a great picture for printing or saving off for your website.


