Cutting the End of a Part
The following are the steps to setting up the cutting the end of a "part" .
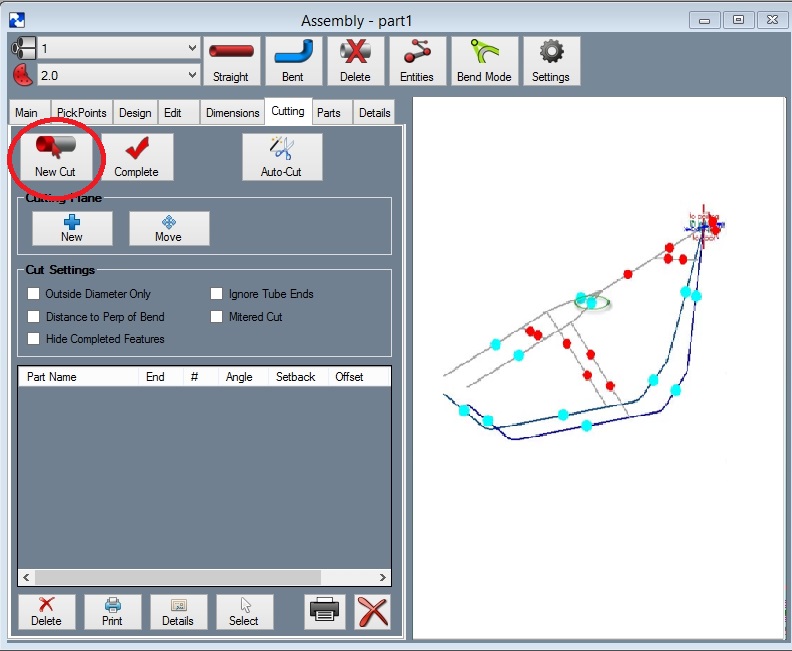
Step 1: Select the "Cutting" tab.
Step 2: Select the "New Cut" command button.
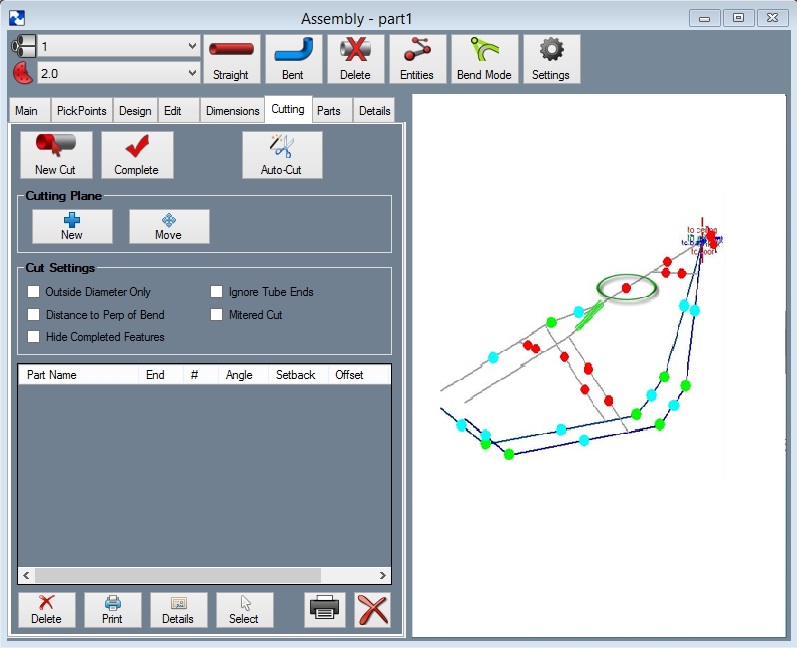
Step 3: Select the tube you are going to cut. Note: The straight end of a bent part will have a blue PickPoint on it. Select this PickPoint. You will find our part turn green in color.
Step 4: Select the dot(s) representing the tube section(s) that our part is going to be cut to. You will find the intersecting tubes will turn red.
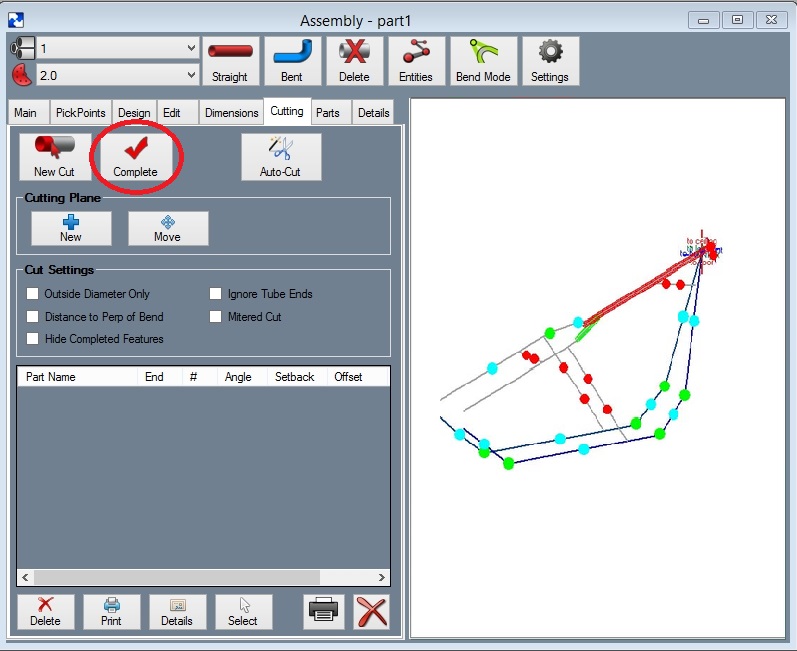
Step 5: Select the "Cut Complete" command button.
Notice the intersection now has a black and a blue cut marks showing the inside and outside of the material where each meets the intersection part(s).
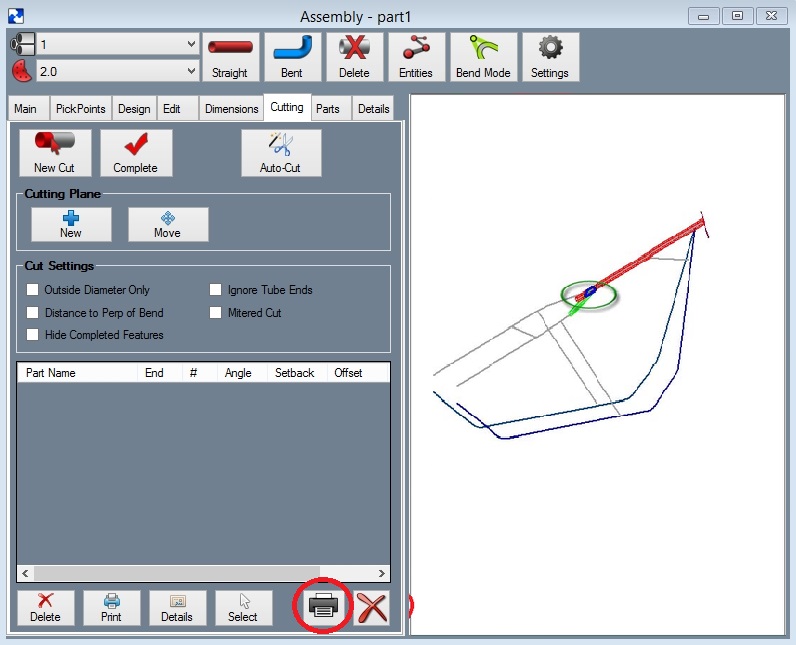
Step 6: Select the "Print" command button.
The cutting templates can be called up at a later time by selecting them from the list shown.


